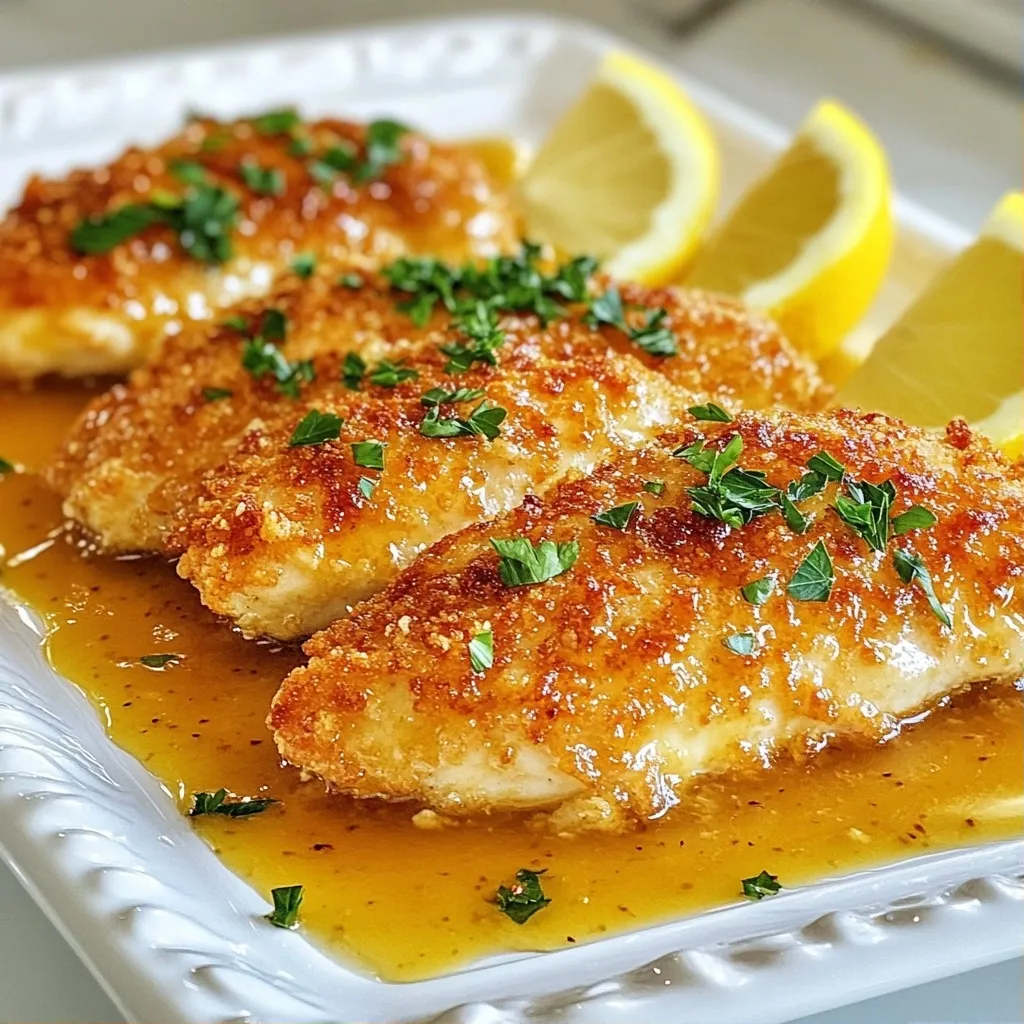
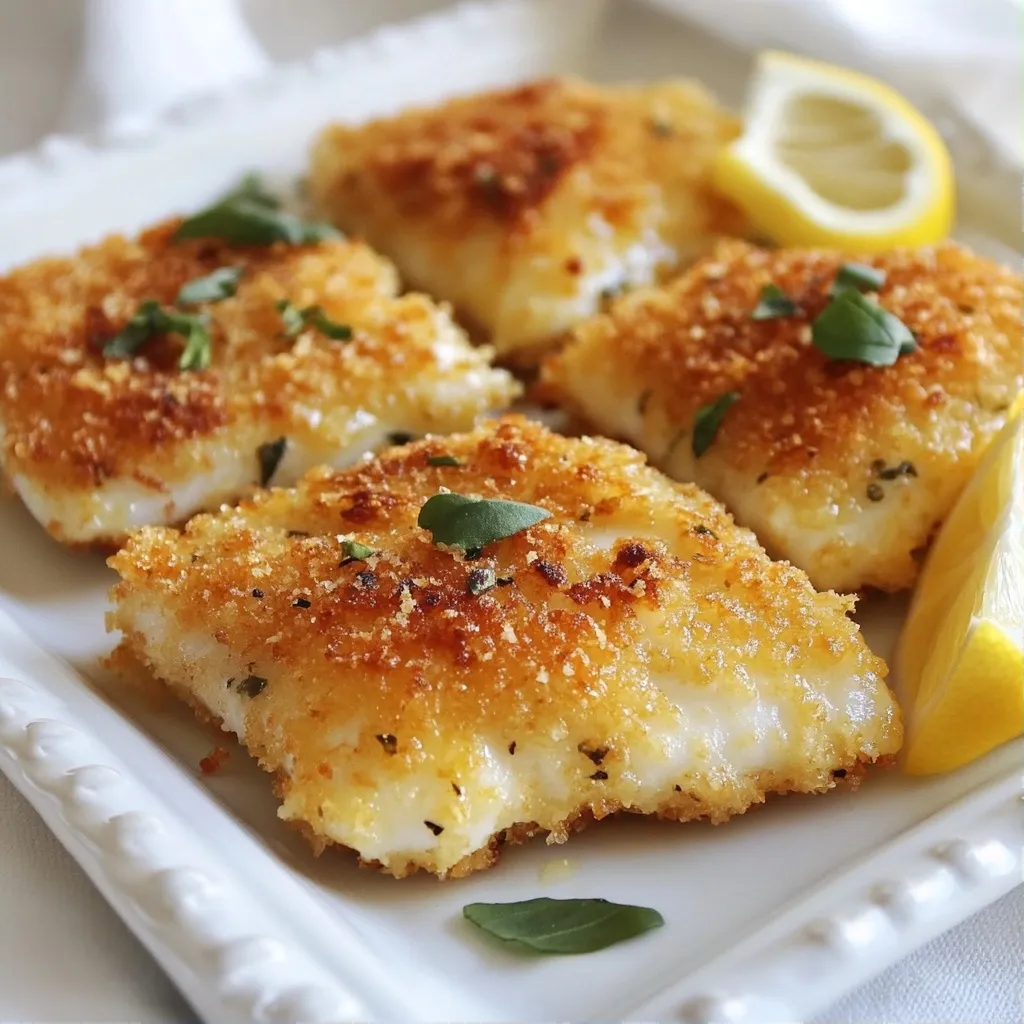
Looking for a quick and tasty dinner? Try my Parmesan Crusted Tilapia. This easy recipe makes a crisp, golden meal in no time. With just a few simple ingredients and steps, you can impress your family tonight. Whether you’re a busy parent or a cooking newbie, this dish will fit right into your routine. Let's dive into how you can whip up this delicious dinner!
Why I Love This Recipe
- Flavorful Crunch: The crispy Parmesan crust adds an irresistible crunch that elevates the mild flavor of tilapia.
- Quick and Easy: This recipe comes together in just 30 minutes, making it perfect for busy weeknights.
- Healthier Option: Baking instead of frying keeps the dish lighter while still delivering on taste and texture.
- Customizable: Add your favorite herbs or spices to the breadcrumb mixture for a personal twist on the classic recipe.
Ingredients
Detailed List of Ingredients
To make crispy Parmesan crusted tilapia, you need these simple items:
- 4 tilapia fillets
- 1 cup Panko breadcrumbs
- 1/2 cup grated Parmesan cheese
- 1 teaspoon garlic powder
- 1 teaspoon onion powder
- 1 teaspoon dried parsley
- 1/2 teaspoon salt
- 1/4 teaspoon black pepper
- 2 large eggs, beaten
- 1/4 cup all-purpose flour
- 3 tablespoons olive oil
- Lemon wedges, for serving
Notes on Ingredient Quality
Using fresh, quality ingredients makes a big difference. Choose tilapia fillets that smell fresh and not fishy. Look for a firm texture. For breadcrumbs, Panko gives the best crunch. Freshly grated Parmesan melts better and adds more flavor. If you can, use organic eggs for a richer taste.
Substitutions for Common Ingredients
You can swap ingredients if needed. For tilapia, try cod or chicken. If you want a gluten-free version, use gluten-free breadcrumbs and flour. Instead of Parmesan, you can use aged cheddar or nutritional yeast for a dairy-free option. Feel free to mix in spices like paprika or cayenne for a kick!
Step-by-Step Instructions
Prepping Your Workstation
To start, clear your counter space. Gather all your ingredients and tools. You will need three shallow bowls, a large skillet, and a baking sheet. Line the baking sheet with parchment paper for easy cleanup. Preheat your oven to 400°F (200°C). This step helps the tilapia cook evenly.
Breading Technique for Perfect Crispiness
Now it’s time to bread the tilapia. First, put flour in one bowl, beaten eggs in another, and the breadcrumb mix in a third bowl. Take each tilapia fillet and coat it in flour. Make sure to shake off any extra flour. Next, dip the fillet in the eggs. Let the excess egg drip off. Finally, coat the fillet in the breadcrumb mixture. Press the crumbs gently so they stick well.
Cooking Tips for Golden Brown Fillets
Heat olive oil in a large skillet over medium heat. Once hot, add the breaded fillets. Cook each side for 2 to 3 minutes. Look for a golden brown color. If your skillet is small, cook in batches to avoid crowding. After frying, transfer the fillets to the prepared baking sheet. Bake them for 5 to 7 minutes. They are done when they flake easily with a fork. Enjoy your crispy, flavorful tilapia with a squeeze of lemon!
Tips & Tricks
Achieving the Perfect Crispiness
To get that perfect crispy crust, use Panko breadcrumbs. They are light and airy. I mix them with grated Parmesan cheese for rich flavor. Press the crumbs onto the tilapia firmly. This helps them stick well during cooking. Always ensure your oil is hot before adding the fish. This creates a nice sear and keeps the fish from becoming soggy.
Adjusting Cooking Times for Different Equipment
Cooking times may change based on your stove or oven. If you use a non-stick skillet, the fish may cook faster. Keep an eye on the fillets. They should be golden brown when done. If using an air fryer, start with a lower temperature and check often. For oven baking, 5-7 minutes is perfect for flaking fish.
Enhancing Flavor with Additional Seasonings
Feel free to add more spices to your breadcrumb mix. Smoked paprika or cayenne pepper adds a nice kick. You can also try fresh herbs like dill or basil for a twist. If you like garlic, increase the garlic powder. Don’t forget a squeeze of lemon at the end. It brightens the flavor and makes it fresh.
Pro Tips
- Use Fresh Herbs: Fresh parsley can elevate the flavor of your tilapia. Consider adding some chopped fresh herbs right before serving for a burst of freshness.
- Perfect the Crunch: For an extra crunch, you can mix some crushed cornflakes with the Panko breadcrumbs. This will add a delightful texture to your crust.
- Don’t Skip the Oven: Baking the tilapia after pan-frying helps to cook it through completely and ensures the crust stays crispy without overcooking the fish.
- Serving Suggestions: Pair your crispy tilapia with a light salad or steamed vegetables to create a balanced meal. A side of tartar sauce or a yogurt dip also complements the dish beautifully.
Variations
Alternative Proteins (e.g., chicken, cod)
You can swap tilapia for other proteins. Chicken breasts work well for a hearty meal. Use the same breading process for chicken. Cod is another great option. Its mild flavor pairs nicely with the crunchy coating. Simply follow the same steps for breading and cooking. Adjust the cooking time based on thickness.
Gluten-Free Options
For a gluten-free dish, replace the Panko breadcrumbs. Use crushed gluten-free crackers or cornmeal. You can also try almond flour for a nutty taste. Ensure your flour is also gluten-free. This way, you can enjoy a crispy meal without the gluten.
Flavor Twists (e.g., adding herbs or spices)
Add your favorite herbs for a flavor boost. Fresh dill or thyme gives a nice touch. For heat, sprinkle in some cayenne pepper. You can also mix in lemon zest for brightness. Experiment with spices to find your perfect blend. Each twist can create a new experience with this dish.
Storage Info
Storing Leftovers Properly
After making crispy Parmesan crusted tilapia, you may have some leftovers. To store them, let the tilapia cool completely. Place it in an airtight container. Keep it in the fridge. Properly stored, it will last for up to three days. Make sure to separate layers with parchment paper to prevent sticking.
Reheating Methods for Best Results
When it’s time to enjoy your leftovers, reheating is key. The oven works best. Preheat your oven to 350°F (175°C). Place the tilapia on a baking sheet. Heat it for about 10 minutes. This keeps the crust crispy. You can also use a skillet. Heat it on medium-low. Add a touch of oil and warm the fillets for about 5 minutes on each side.
Freezing Tips for Extended Freshness
If you want to store tilapia longer, freezing is an option. Wrap each fillet tightly in plastic wrap. Then put them in a freezer-safe bag. Label the bag with the date. Frozen tilapia can last up to three months. To thaw, place it in the fridge overnight. This keeps the fish fresh and safe to eat!
FAQs
How do I know when the tilapia is cooked?
You can tell tilapia is cooked when it flakes easily with a fork. The fish should look opaque and have no shiny spots. When you press it lightly, it should feel firm but not rubbery. If you have a food thermometer, aim for an internal temperature of 145°F (63°C).
Can I use frozen tilapia fillets?
Yes, you can use frozen tilapia fillets. Just make sure to thaw them first. You can do this by placing them in the fridge overnight or running them under cold water for about 30 minutes. After thawing, pat the fillets dry before breading. This helps the coating stick better.
What side dishes pair well with Parmesan Crusted Tilapia?
Parmesan crusted tilapia pairs well with many sides. Here are some great options:
- Steamed broccoli
- Garlic mashed potatoes
- Rice pilaf
- Mixed green salad
- Roasted vegetables
These sides add color and flavor to your meal. Enjoy mixing and matching!
This blog covered how to make delicious Parmesan Crusted Tilapia. We looked at the best ingredients and options for swaps. The step-by-step guide helped you prep and bread your fish for crispy results. Helpful tips ensured perfect cooking, while variations let you adjust flavors. We also shared proper storage methods to keep your leftovers fresh.
With these ideas, you can enjoy great meals anytime. Experiment with flavors, enjoy the process, and share your dishes with others!